One of the forgotten projects, though, has become a nuisance that keeps pestering me every day when I walk in my front door. When I moved into my house, my living room wall had a specific area where there were a lot of little white spots where the previous homeowners had spackled in nail holes, but failed to repaint over their spackle. So one day, in a moment of sheer brilliance, I decided to paint the white spots. I had painted my dining room a tan color that, I thought, was identical to the living room color. So I just walked right up to those spots with my paint brush in hand and painted over them.
This was my result:


-9 frames
-9 pieces of scrapbooking paper in coordinating colors (I repeated 2 of the sheets I found because I couldn't find anything else to match)
-1 small bottle of acrylic paint in bronze, silver, brown, or black.
-1 paint brush (or sponge brush)
-Some newspaper (or, cut a large trash bag down the middle and lay it flat to cover your work area)
-A small piece of foil or a paper plate (to put your paint on)
-Something to hang the photos with (I used command strips because my frames were lightweight. If you have heavier frames, you'll have to use nails.
Instructions:
1. I began by removing the backs and mats out of my frames. I reserve the backs and 1 set of papers from the frames (this will help with the grid pattern layout later). I chose to discard the glass that came with the frames because I didn't like the glare it put on the papers. You may choose to keep yours if you wish.
 2. My frames had the little leg things that come on the back of tabletop frames to help them stand. Since my frames were going on the wall, they didn't need legs. And the legs would have prevented them from hanging flush against the wall like I wanted, so I removed them.
 3. I spread newspaper over my entire work area and began painting my frames the bronze color I had picked up at the store. I learned that it can be quite cumbersome to cover plastic with acrylic paint. It took me about 4 or 5 coats before the frames were covered thoroughly. You should allow at least 30 minutes between coats to allow the paint to dry.
4. Once I was finished completely with painting my frames, I laid them out and allowed them to dry overnight (if you don't want to wait overnight, you should at least wait 2 hours to make sure your frames are completely dry before you start handling them again.).
 5. After my frames were dry, I put all of my papers inside of them, and put the backs securely on the frames (you'll need to replace the front glass at this point if you're using it). Then I began to figure out exactly how I wanted my pictures arranged in my grid pattern.
6. Once I had my pattern laid out exactly how I wanted it, I took the inserts that came in the frames (reserved from Step 1), and hung them on my wall with masking tape. I wanted to make sure I had the layout figured out before I started adhering the pictures to my wall. This step was a little time consuming for me because I had originally planned on hanging the pictures with a couple of inches of space in between. But with my painted predicament on my wall, this was not possible with any arrangement I could come up with. I ended up deciding to hang the pictures as one giant square, with no space in between. This also made it easier to hang the pictures because I only had to measure the first picture I hung. The rest of them were hung by simply aligning the edges with the other frames that were already hanging.
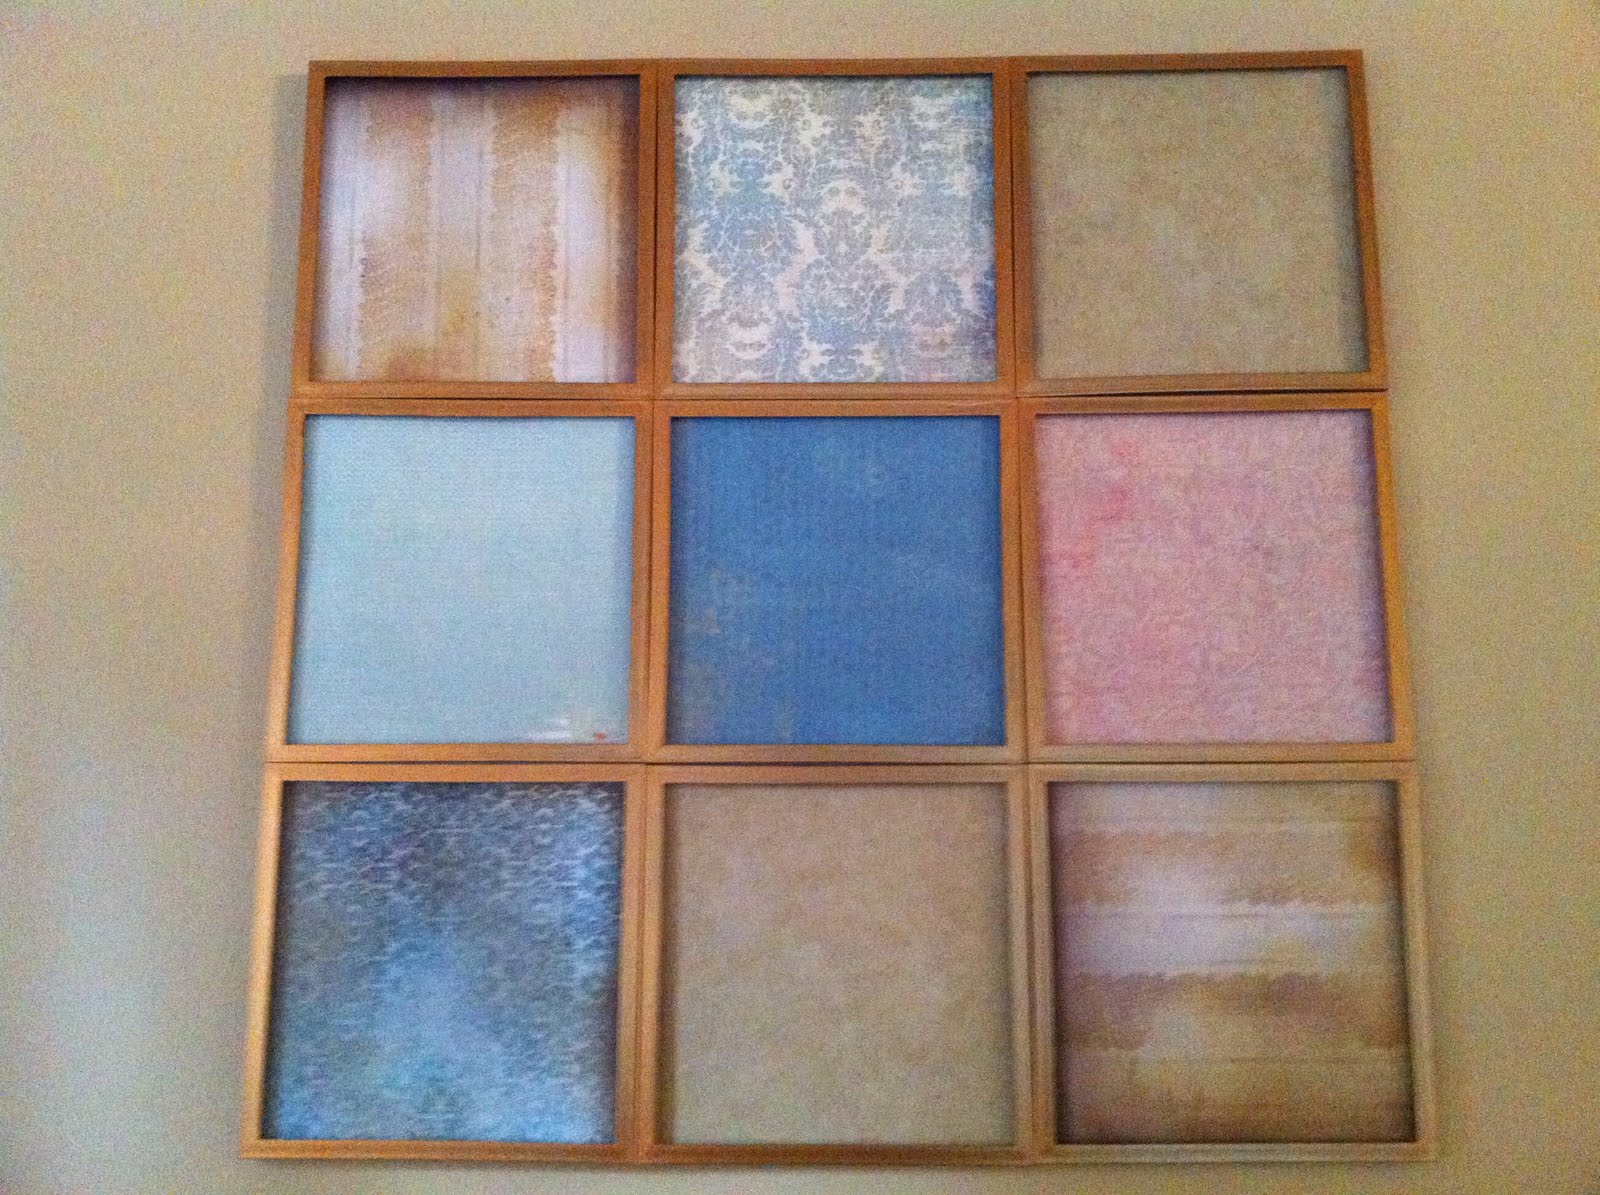
And here is my finished project (with no ugly paint spots on the wall!)
